
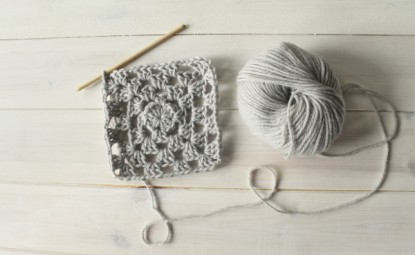
Want to learn how to crochet a granny square? This simple tutorial (with videos!) will get you started and on your way to a snuggly blanket before you know it.
Granny squares are the matriarch of all crochet blankets: so much so that almost every sit-com on television features a granny square blanket at some point! Once you get the hang of them, it opens the door to fancier, more intricate squares that feature different textures like bobbles, chevrons, and shells.
In this tutorial, you'll learn how to crochet a granny square, with the help of photos and some videos, too.
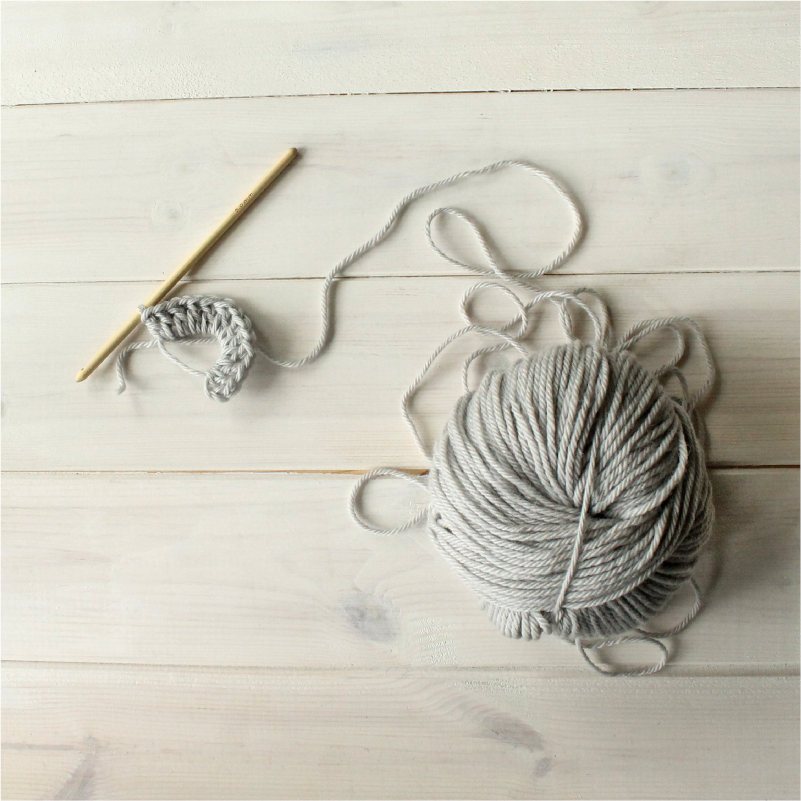
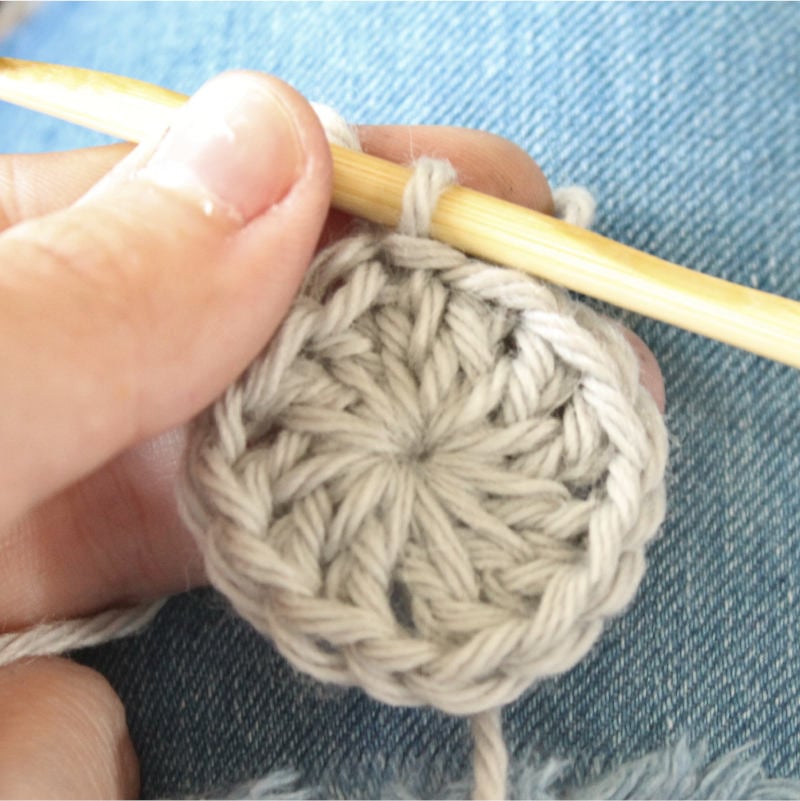
To get started, you'll want to make a magic ring. Not sure how to do that? We have a video for that!
You need to pull the magic ring closed! Like this:
Tug on that loose tail and draw the magic ring closed. It will look like this:
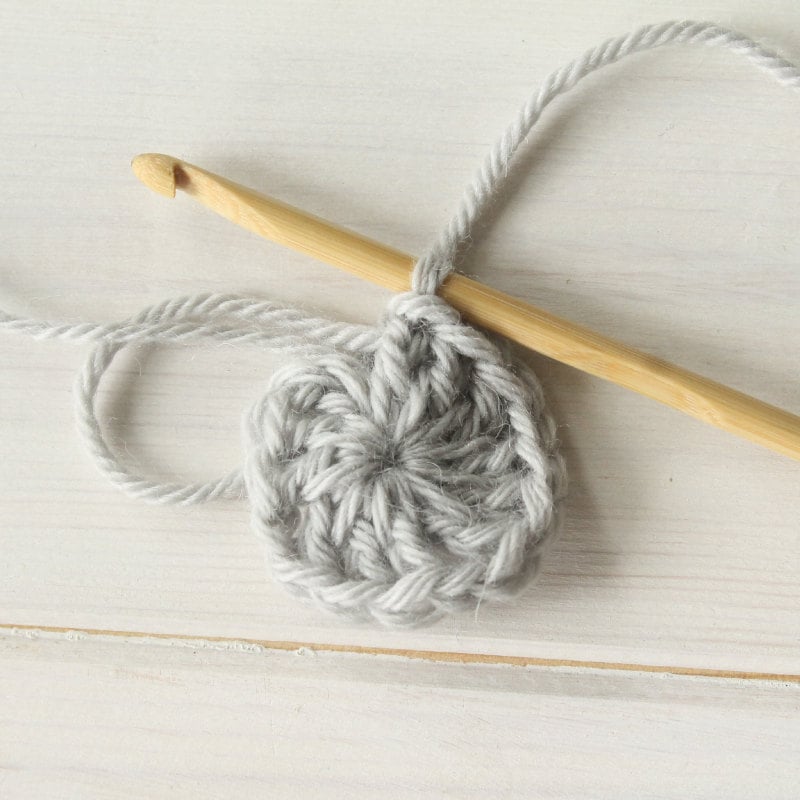
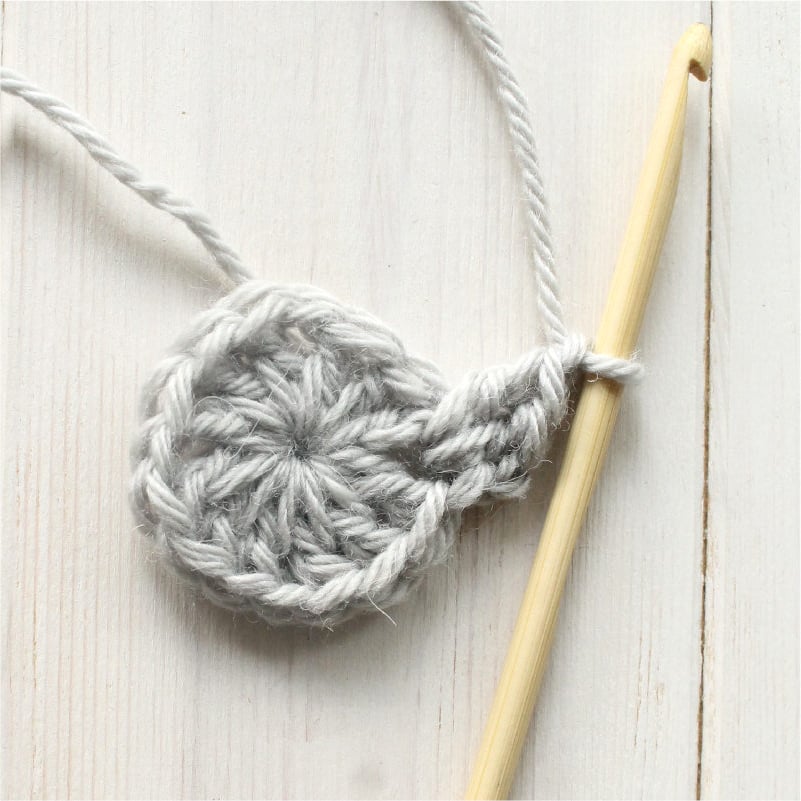
Hmm, that doesn't look much like a square yet, does it? Never fear: following rounds will square it off. Slip stitch into the first stitch of the last round to close the circle. You'll do this at the end of every round to secure it.
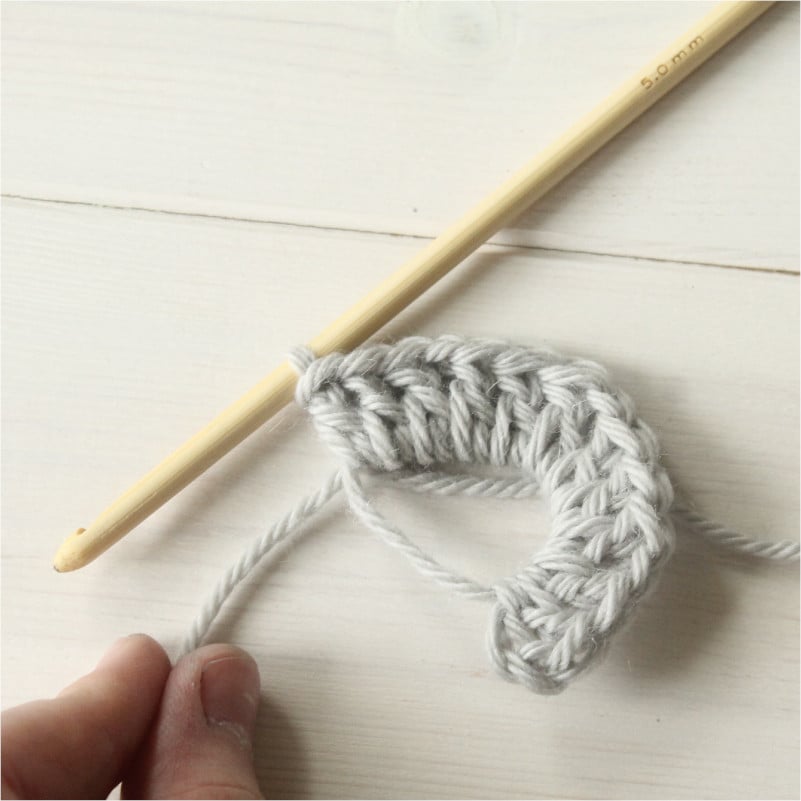
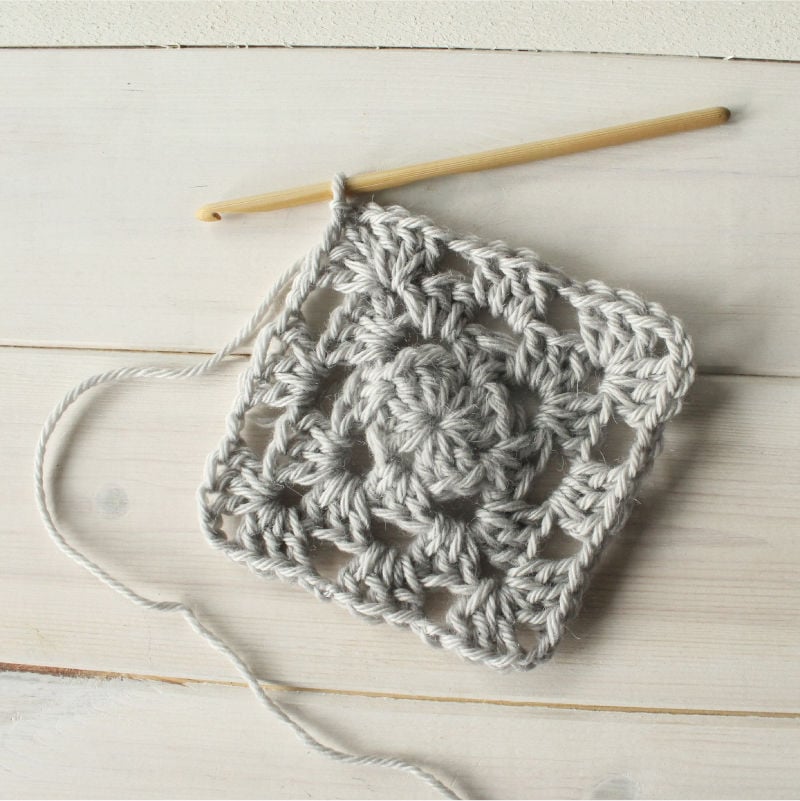
On our second round, we're going to start with a chain 3 again: we'll do that every round. Do 2 UK trebles into the 2 chain space directly underneath, like this:
Then *Chain 2, 3 UK trebles into the next space.* Repeat between * and * in each corner, and finish the round by slip stitching into the first stitch of the round. It will start to look a little bit more square now!

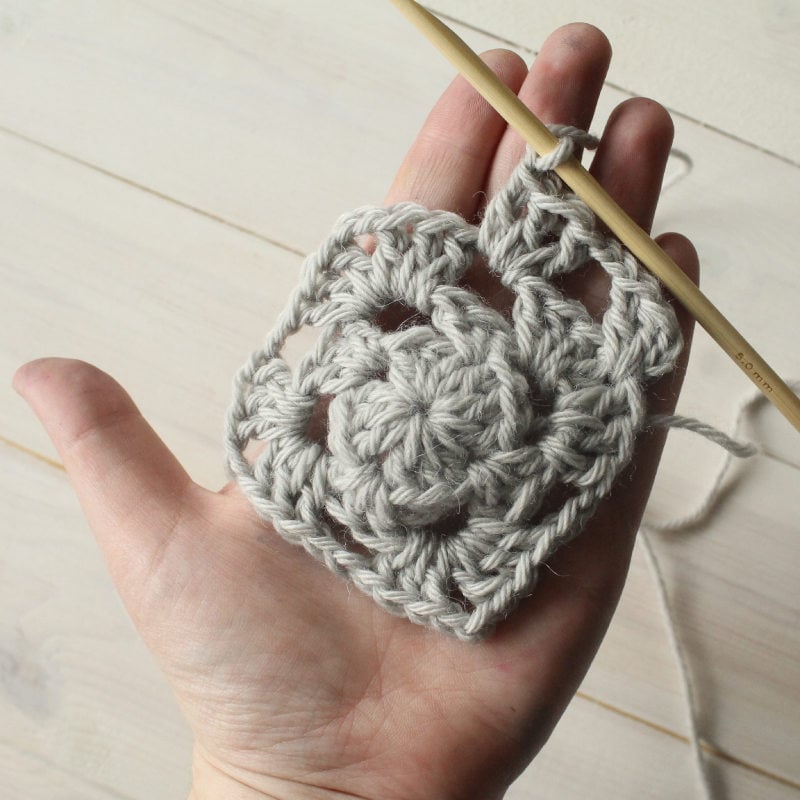
Round 3: Begin with a Chain 3 again, and just like the last round, do 2 UK trebles into the space right below. *Chain 2 and do 3 UK trebles into the next space. Chain 1 and do 3 more UK trebles into the same space.* Repeat in each of the next corners, until you reach the end of the round.
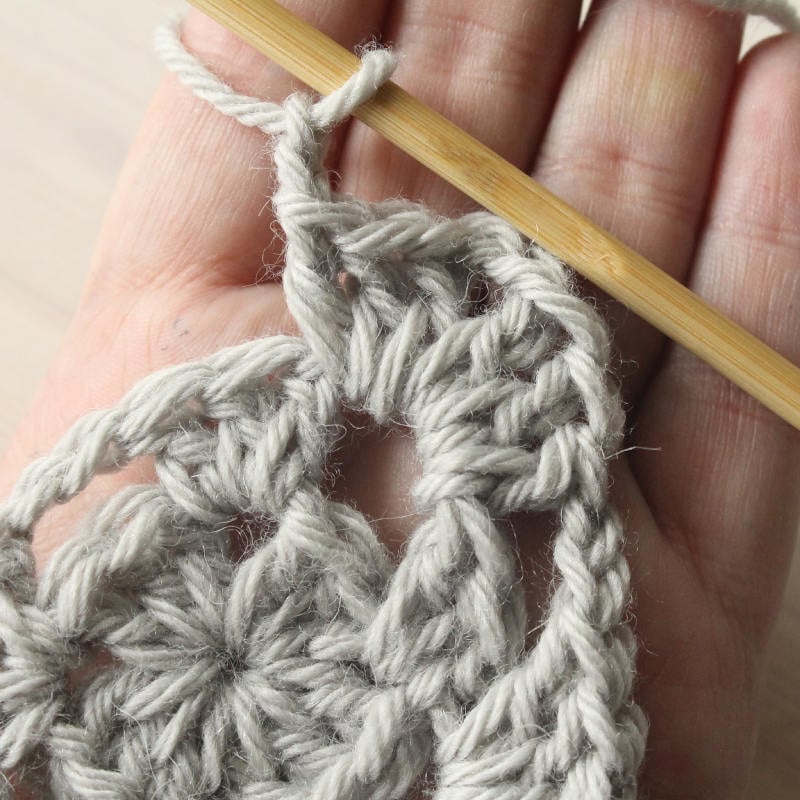
Hmm, wait: we only did 3 UK trebles into the first corner, didn't we? So now, Do 3 UK trebles into that same beginning space to create the corner. It will look like this:
And just like previous rounds, you'll have to slip stitch to end the round and close the gap.
See? Definitely more square now!
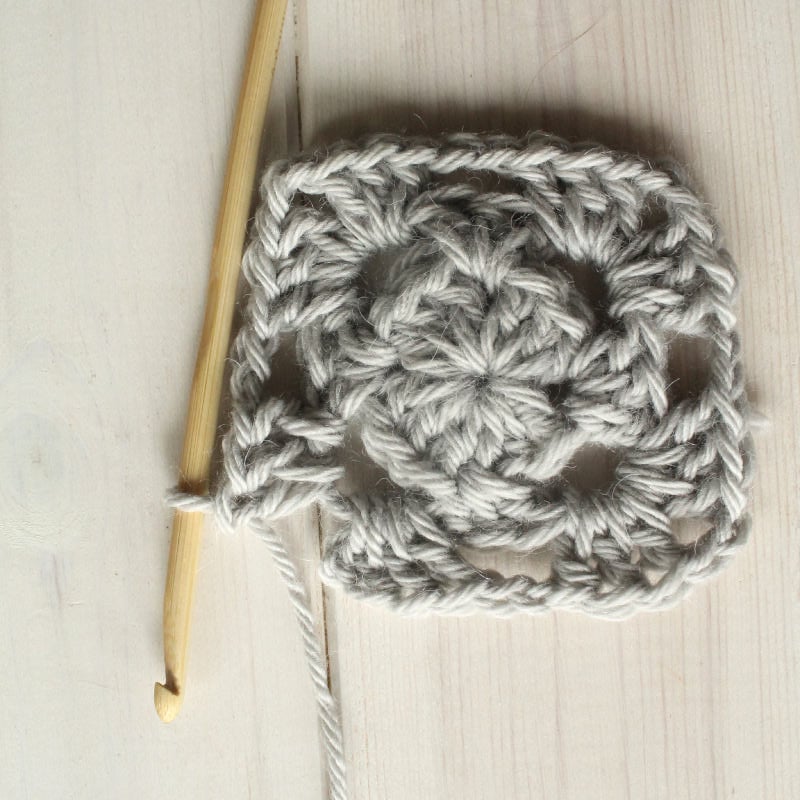
Round 4: Begin with a Chain 3, and do 2 UK trebles into the space directly below. As you can see, we now have an extra space before the corner! Chain 2, and do 3 UK trebles into the space. It will look like this:
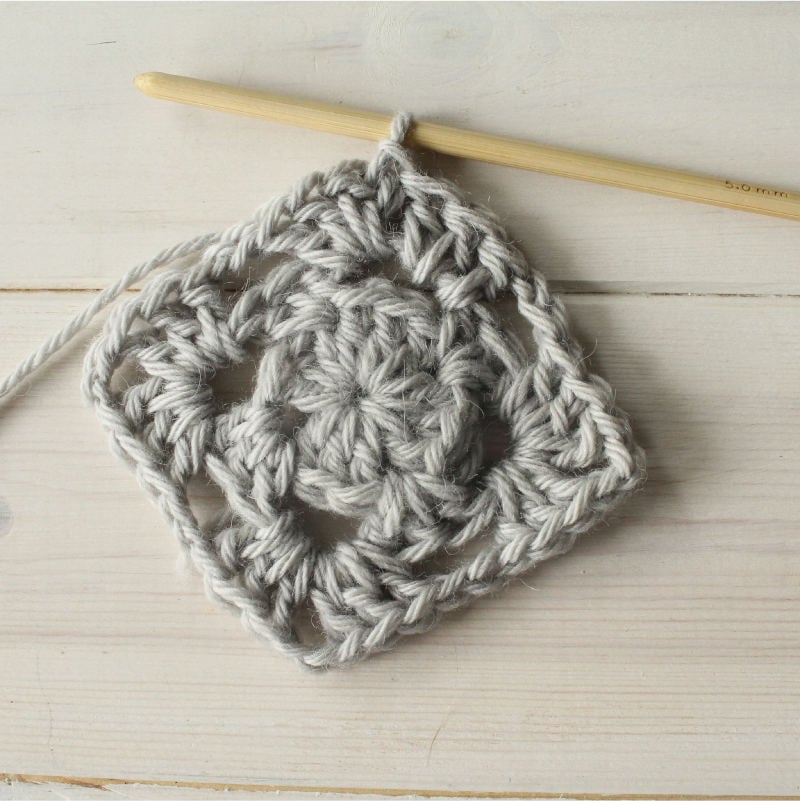
*Chain 2, 3 UK trebles into the corner space, Chain 2, 3 UK trebles into the same corner space, Chain 2, do 3 UK trebles into the next space.* Repeat between * and * for all sides until you reach the first cluster. Do 3 more UK trebles into that first space of the round, and slip stitch it closed.
Le voila! You have a completed granny square. At this point you can fasten off and weave in your ends, or you can keep going, repeating the same steps as before, being sure to work two clusters in every corner, and 3 UK trebles into each side space. If you wanted, you could make an enormous granny square blanket!